Wednesday, October 12, 2011

A Super Easy Scarf

So, this past weekend I decided to pop into Michael’s to browse for Halloween stuff. Somehow I ended up in the Yarn aisle. Have you been recently?!! WOWZERS!! There are soooooo many new ones to choose from! I was instantly drawn to this yarn, so I HAD to buy it.
(Of course, I didn’t buy any Halloween décor. I couldn’t wait to start a new project with what I found!!)
Anyway, after 4 hours total (2 hours here and 2 hours there), this is what I ended up with:

It’s Super Easy!! The yarn even comes with instructions. Up close it looks like this:

If you spread it open, it looks like this:

So, here are the instructions that come with it:
Knitting Needles 5.5 mm/Gauge is not important.
For a longer scarf cast on 6 stitches. For a shorter, wider scarf cast on 10 stitches. (parenthesis show the wider/shorter size). Stretch one end of the Sashay open for several inches and lay it flat, placing the edge with the metallic thread along the bottom. Notice that the Sashay yarn is a mesh of holes. You will be working with the top of the mesh and leaving the metallic edge loose to form a ruffle.
Beginning at the top right edge, insert tip of a knitting needle from back to front starting 4” from end. Continue inserting needle 5 (9) more times. You know have 6 (10) cast on stitches.
Pick up the needle with the 6 (10) stitches and knit using the top 2 threads of the mesh rather than the entire strand. Continue knitting in stockinette stitch these 6 (10) stitches on each row, always turning your work in the same direction at the end of rows. Put your work down and open up the mesh as you go. Stop knitting when you have 1 yard left for binding off.
FINISHING:  Bind off loosely, drawing the end of the Sashay through the last bound stitch. Trim leaving 4” end. To finish ends, fold under the corn and task to inside with sewing needle and thread.  ( I didn’t do this-I just trimmed it and it looks fine to me.)
Click here for a video.
Here’s what the actual KNIT part looks like in the back:

Here’s the front:

I decided to go with Casting on 6 because I wanted my scarf to be skinnier and longer. I was overall happy with the result, but I think for my next one, I will go even skinnier by casting on 4 instead.
But what a great addition to my Fall and Winter wardrobe. Because of its length, you can wear in so many ways. Like this:

Or this:

Or this:

Or this:

How fun for one ball of yarn and a few hours!! Now if only San Diego would realize that it's Fall so I can wear it!

Friday, October 7, 2011

Salted Caramel Cupcakes-yummm...

I had trouble deciding what my birthday treat was going to be. I wanted to make something that I love. I usually make chocolate cupcakes or chocolate cake because MOST everyone loves Chocolate. But when I saw this post, I KNEW that I NEEDED them to make my birthday complete. They are yummy deliciousness!!

After making the cupcakes from the site's recipe, I felt they came out too dense for me, so I switched up my recipe (for the cupcake part) slightly from the site and made a new batch. I was sooo happy with the change.  Here's the recipe with a few of my tweaks:

Salted Caramel Cupcakes Cupcakes   

Makes 36 cupcakes

  • 3 cups cake flour, (not self-rising), sifted
  • 1 1/2 cups all-purpose flour
  • 2 1/4 teaspoons baking powder
  • 1 1/2 teaspoons coarse salt
  • 3/4 teaspoon baking soda
  • 9 ounces (2 sticks plus 2 tablespoons) unsalted butter, softened
  • 2 1/4 cups sugar
  • 5 large eggs plus 3 large yolks, room temperature
  • 2 cups buttermilk, room temperature
  • 2 teaspoons pure vanilla extract
Preheat oven to 350 degrees. Line standard muffin tins with paper liners. Whisk dry ingredients in a large bowl. Cream butter and sugar with a mixer until light and fluffy. Add eggs, 1 at a time, beating after each addition.  Reduce speed to low. Mix remaining wet ingredients in a bowl. Add dry ingredients to butter mixture in 3 additions, alternating with wet ingredients and ending with dry. Scrape sides of bowl. Divide batter among muffin cups, filling each full. Bake cupcakes until testers inserted into centers come out clean, about 20 minutes. Let cool in tins on wire racks.

Salted Caramel Filling:
  • 1 cup sugar
  • 6 tablespoons salted butter cubed
  • 1/2 cup plus 2 tablespoons heavy cream, at room temperature

Melt the sugar over medium  high heat in a large pot.  Whisk the sugar as it melts and cook until it becomes a deep amber color. Add the butter and stir it in until melted. Pour in the heavy cream (mixture will foam) and whisk until you get a smooth sauce. You may have some lumps but keep stirring until they have melted.  Remove from heat and let cool slightly.  
 
Cut a small round piece out of the tops of each cooled cupcake and pour in 1 teaspoon of caramel.  Replace the cake piece and set cupcakes aside.
Salted Caramel Buttercream Frosting:

  • 1/2 cup granulated sugar
  • 4 tablespoons water
  • 1/2 cup heavy cream
  • 2 teaspoons vanilla extract
  • 2 sticks salted butter
  • 2 sticks unsalted butter
  • 1 teaspoon sea salt
  • 3 cups powdered sugar


In a saucepan, stir together granulated sugar and water.  Bring to a boil over medium high heat.  Cook without stirring until mixture turns a deep amber color.  Remove from heat and slowly add in cream and vanilla, stirring until very smooth.  Let caramel cool for about 20 minutes, until it is just barely warm and still pourable.

In a mixer fitted with paddle attachment, beat butter and salt together until lightened and fluffy.  Reduce speed to low and add powdered sugar.  Mix until thoroughly combined.

Scrape down the side of the bowl and add the caramel.  Beat on medium high speed until light and airy, and completely mixed (about 2 minutes).  Mixture should be ready to use without refrigeration.  If your caramel was too hot when added, it will cause your icing to be runny.  If this happens refrigerate for 15-20 minutes. 

Top caramel-filled cupcakes with frosting and enjoy!!


Tuesday, October 4, 2011

A New "Scary" Age

I turned 38 years old last week. I don’t feel 38. 38 was my scary age.  When I was younger I thought that when you hit 38 years of age, you were OLD. I don’t feel old. (Well, some days I feel older than others…)AND I don't think I'm scary.  Not yet. So, I've upgraded my scary age to 48. (MY scary age. Not saying that everyone is scary at 48. I know some pretty awesome 48 year olds.)
Anyway, where does that leave newly turned 38 year old me? I don’t know yet.
But I do know what I hope for?
1.       I hope to thank God for every gift he gives me every day of my life, especially in this 38th year of my life.
2.       I hope to remember to savor every moment-good and bad.
3.       I hope to do everything I can to let my kids know that I love them with all my heart.
4.       I hope that my husband will know how grateful I am that he’s my partner every moment we’re together.
5.       I hope to grow thicker skin.
6.       I hope to “let it go” more.
7.       I hope to lose the weight that I keep saying that I need to lose and don’t because I like good food too much.
8.       I hope to conquer the Bermuda grass we inherited when we bought our home.
9.       I hope to be able to say “no” without the usual guilt complex that comes after my answer.
10.   I hope to spend more time reading, sewing, baking, and creating.
I got to celebrate my birthday 3 times this week. How blessed am I that I’m surrounded by family and friends who want to share this occasion with me?! Happy 38th Birthday to me! I can’t wait to see what this year brings…

Wednesday, September 7, 2011

Eureka-Coca Cola Makes EVERYTHING better!

So, I was going to try to play it cool and not post blogs so close to each other. I was "supposed to be chill" and "give some time between each post." (That's the advice I got from several people.) But I was too excited to hold onto this one. I feel like it's a disservice to wait!!

Ok, here goes: everyone that knows me knows that I'm not the biggest fan of Chocolate Cake. I like it. I don't love it. I like some Chocolate Cake recipes more than others. I'm kind of a Chocolate Cake Snob. But, I LOVE THIS Chocolate Cake!! LOVE!! What did it take?

THIS:


I stumbled upon this blog last week. It was a recipe for Chocolate Coke Cake. I had never heard of it before but I had a total NEED to try it out. Coincidentally, I had a potluck to attend that same week. I had already planned to bring an appetizer, but then I thought, what better excuse to test this cake out? Omigosh!! Thank goodness I gave in to my need. Yummmm...

Here are the ingredients:


That's all. You probably have all of these in your home. (I was too anxious to make the cake that I forgot the blog protocol of taking photos as you go along. Oopsies.) Anyway, here's the recipe. 
I loved that it was rich, and sweet, and brownie-ish and cake-like all at the same time.  Anyway, I hope that you make time to try this recipe out. This recipe proves my theory correct: Coca Cola makes everything so much better!!


Tuesday, September 6, 2011

Zach's First Birthday Carnival Part III-The Festivities

So, I thought I'd show photos from the actual party with the actual birthday boy...
Here he is enjoying the Bounce House with his big brother!
And Plinko...
And The Ring Toss...
AND a photo op...
and now some random photos of the party...
And, a Carnival wouldn't be complete without a few Clowns...
I ordered a dozen Clown Noses from here and made sure to get some photos of everyone in attendance. Here are a few of the Clowns in our lives...

So, there it is. While the party wasn't exactly a simple gathering, it was a far cry from an episode of
TLC's "Outrageous Kids Parties." And, I know that Zach will not remember that day, but there are plenty of photos for me to share with him one day. I just hope that when he does re-live the memories, he can see how much everyone loves him and how they all came to celebrate his BIG Day!
I can't wait for the next party...

Zach's First Birthday Carnival Part II-Dessert Table

Contiuing on with Zach's party, I really wanted to be able to say that I made everything on the Dessert Table. Crazy, I know. Here's what it looked like:

 
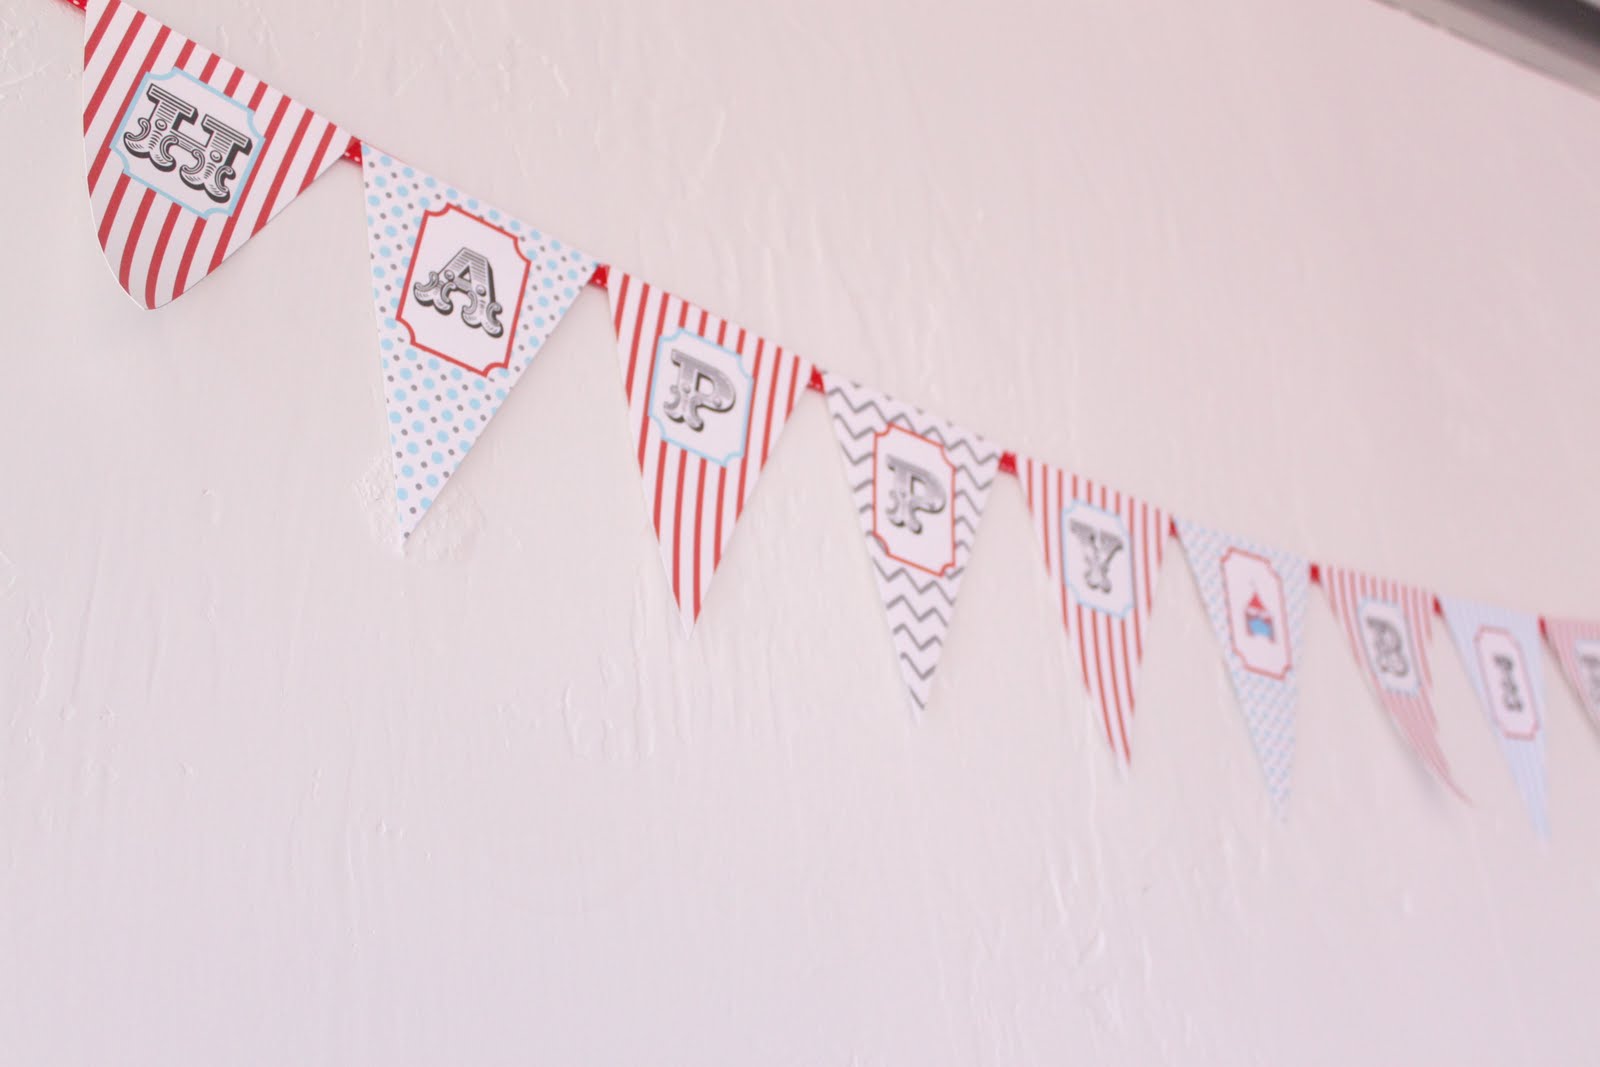
I created my own decorated paper on Photoshop and then added the letters for the Birthday Penant, to make sure that all the colors of the party matched. I'm so Type A like that.
It's totally one of my worst faults...

This was my first experience working with fondant. Let's just say there was a DEFINITE front and back side to this cake. I orderd the Carousel from Wilton's here.
These cake pops were from the Bakerella Cake Pop Book.
Candied apples are a pain in the behind to make. Note to self: do not try to make when in a hurry...
 
I made Chocolate and White Chocolate Cupcakes. We are a house divided when it comes to that. My daughter and I aren't fans of chocolate cake. The husband and the boys, well, they are  different story...

I made these to add to the decoration on the Dessert Table and nobody drank any. Oopsies...

So, there she is. The Carnival Dessert Table. I was happy with the overall product. I think I would have added something fun on the wall, but I had way too much going on that week. Oh well.
 Something to remember for the next time.


Zach's First Birthday Carnival Part I

So, my youngest son turned one in August. He is our 8/9/10 baby. Last year, we purchased a house with a much larger backyard and really want to take advantage of the space.  So, an idea was born.

Actually, the idea was started from this:

I ordered it from here. 

Visions of cotton candy, peanuts, cracker jacks, hot dogs and carousels danced in my head for months!   We were blessed to have so many friends and family members come and share the afternoon with us.

 Here are a few images from Zach's party:

 This was posted at the front door to welcome guests.

 I made these Treat Bags and them filled with cotton candy, candy apples lollipops,
gummy hot dogs, bubbles and more!

As for decoration, I made the bunting out of inexpensive felt and cotton string.
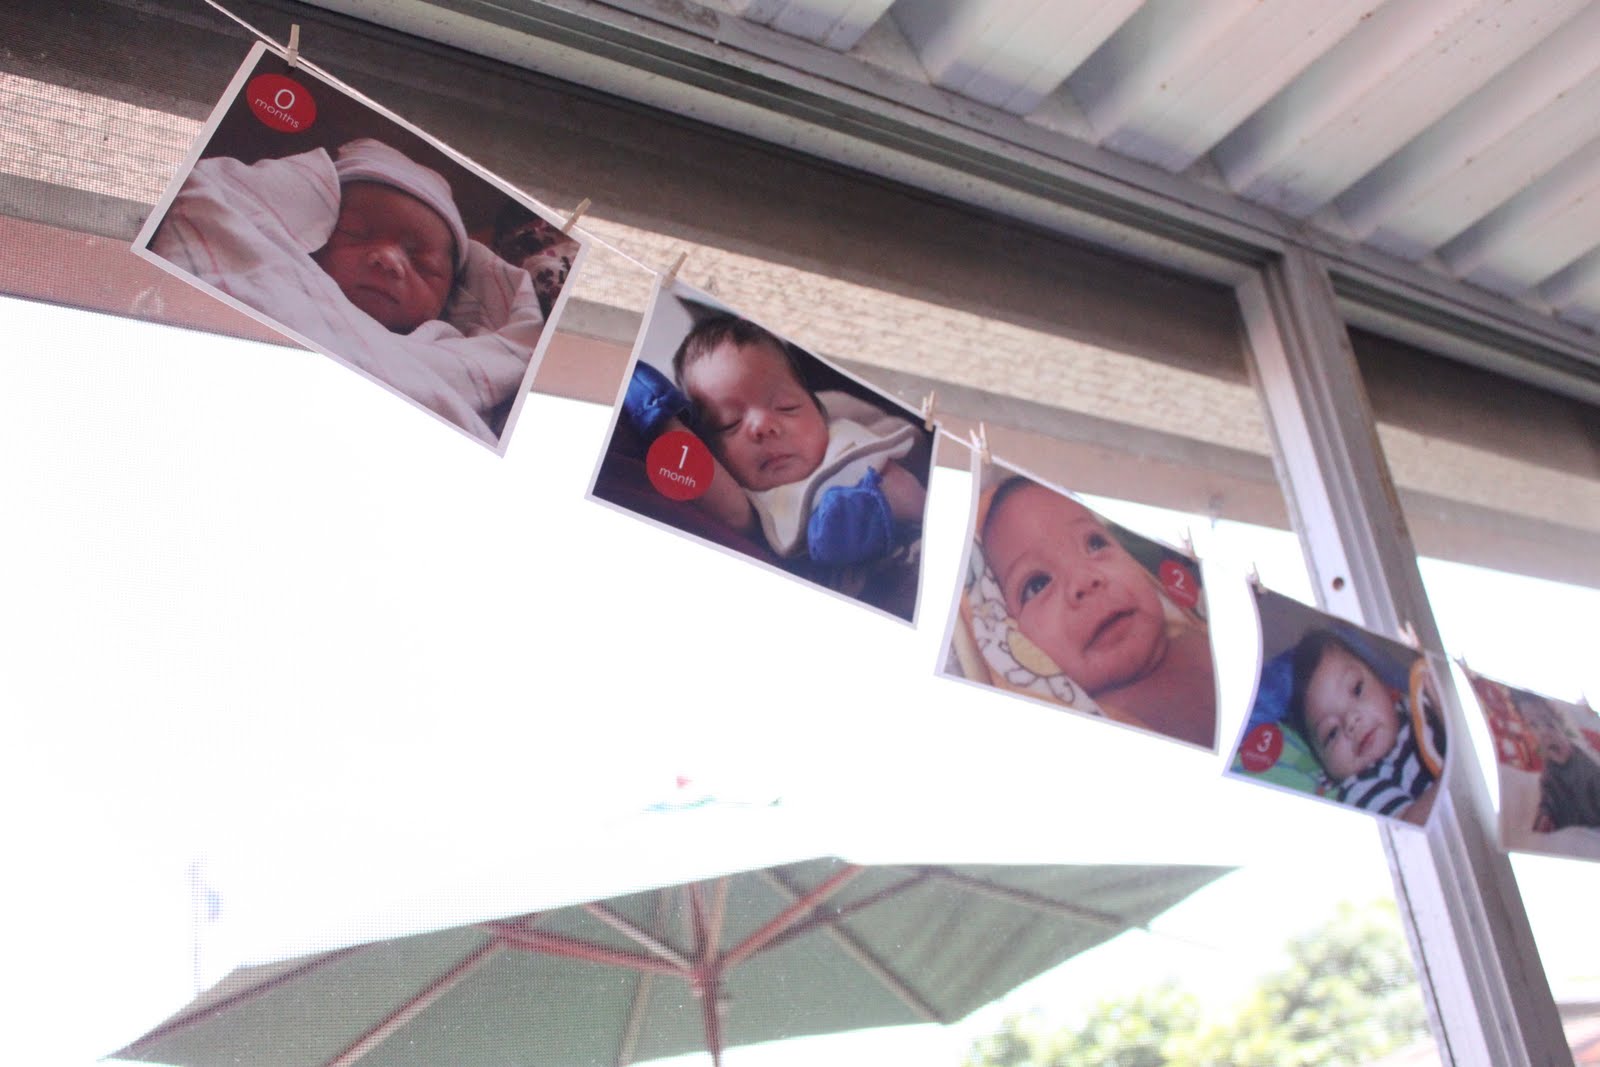
On one of the windows, I created a Wall of Zach's First Year in photos.

We had sooooo much food, it was crazy! When I think Carnival, I think hot dogs and nachos, so I had to make sure that we had a Hot Dog/ Hamburger/Nacho Bar. We had all the fixings, including nacho cheese, jalapenos, chili, red onions, tomatoes, lettuce, ketchup, mustard, mayo, and a special sign that had
 "Zach's Suggested Recipes."

At the drink station, we made sure to have plenty of Sharpie markers attached to a table frame, so that as people served their drinks, they can write their names on their cups. We were trying to be kind to the enviroment and to not have so much waste.

Then in the backyard...


We orderd a Carousel Bounce House and had a few Carnival Themed Games...